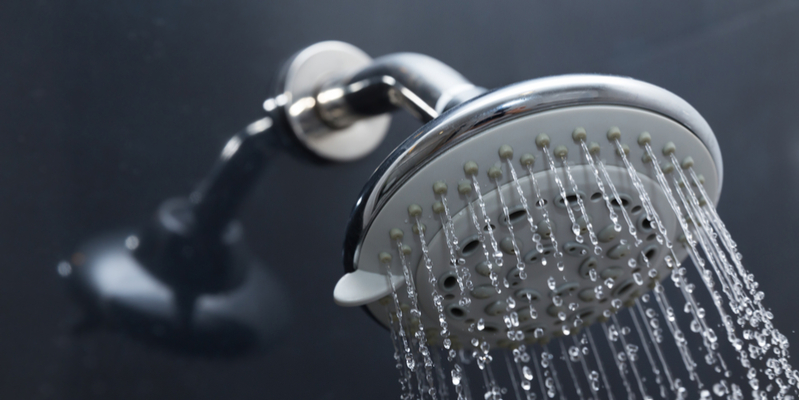
Are you considering replacing your showerhead and looking for a comprehensive guide on how to do it yourself? Replacing a shower head is a straightforward DIY plumbing project that most homeowners can accomplish with ease.
Whether you’re upgrading to a water-saving eco-friendly showerhead or adding a stylish touch with a LED showerhead, or even if your current showerhead has simply seen better days, the pros at Mike Diamond have put together a step-by-step guide to make it happen.
Step 0: Gather Your Essential Tools for Showerhead Replacement
Before you get started on this home plumbing DIY, gather the necessary materials. These include a tarp or a few towels, some Teflon tape, an adjustable wrench, and, of course, your new showerhead. If you’re missing any of these tools, they’re readily available at your local home improvement store.
Step 1: Turn Off the Shower
This might seem obvious, but it’s critical. Ensure your shower is off by turning the knobs as far as they can go. While not obligatory, you could also consider turning off your home’s water supply to avoid any unexpected sprays or drips during the process.
Step 2: Protect Your Bathtub or Shower Floor
Position your tarp or towels directly under the shower head and over the drain. This simple step will prevent small parts from falling into the drain while you replace the showerhead.
Step 3: Remove the Existing Shower Head
Wrap a towel around the base of the shower arm – the stem that connects the showerhead to the wall. This will help protect it and give you better grip. Take another towel and wrap it around the showerhead. Grip its base with your adjustable wrench and use it to turn the head counter-clockwise until it unscrews it from the arm.
Once it’s unscrewed, clean the shower arm’s threads with a towel or use an old toothbrush for a deep clean.
Step 4: Apply Teflon Tape to the Shower Arm Threads
Tape all of your plumbing joints to ensure a waterproof seal and prevent leaks. A common question is whether to wrap teflon tape clockwise or counterclockwise. Wrap your teflon tape around the threads of the shower arm clockwise two or three times. Press the tape into the grooves as you go, wrapping it as tightly as possible. Make sure you’re wrapping clockwise, so you don’t undo your tape when you screw in the showerhead.
Step 5: Installing the New Showerhead
Regardless of the type of showerhead you’re installing (fixed, mounted, or hand-held), the attachment process remains similar. Place the new showerhead onto the taped shower arm and twist it clockwise into position. Use the adjustable wrench for final tightening, but protect the showerhead and arm with a rag or towel under your wrench.
Step 6: Test the New Showerhead
Turn the water back on and check your newly installed showerhead for any leaks or drops. Be sure the water pressure matches your expectations. If you do notice any leaks, reapply the Teflon tape and reinstall the showerhead.
Who Can Replace a Showerhead in Los Angeles?
Tackling plumbing projects solo isn’t for everyone. If you’d rather have a professional take care of installing your new showerhead, we’re here to help. Just give the pros at Mike Diamond a call. We can also help you with water pressure issues or with replacing a shower arm if you run into problems. Call today!